Blocking Crochet Projects: Why and How to Do It
Introduction
Blocking is a crochet project finishing technique that allows you to shape your finished product and improve its overall look. Moisture, and sometimes heat, are used to achieve the desired finished effect of flat edges, even stitches, and consistent tension. It is incredibly helpful in creating a beautiful finished product but it is often skipped since it takes both time and space to block a project, and lets face it, not many people know how to block crochet projects.

RELATED: How to improve crochet tension
DISCLOSURE: This post contains affiliate links, meaning if you click on a product or service, and decide to purchase it, I may receive a commission at no extra cost to you. All recommended products and services are based on my experience with them. For more information, please read my Disclaimer.
Why Block Your Crochet Projects
There are some great benefits to blocking your crochet projects. In past posts I’ve spoken about how crochet is such a “forgiving” craft. Blocking is a great example of this. When you take the time to block your projects, you can even out stitches and improve the overall appearance of your finished product.
If you had tension problems while working on your project, this technique helps to achieve the desired measurements and sizing based on the pattern or idea you are using.
When working with lace, you’re using small hooks and thin yarn. This finishing technique can help open up lace patterns and can help show the complexity of the stitches.
Blocking is WONDERFUL with blankets, especially if any of your blankets ever curl or wave a bit. It helps your project lay flat and can reduce (sometimes completely eliminate) curling edges.
Learning how to properly block your crochet projects provides your finished project with a professional look that makes handmade items look store-bought. Obviously you don’t need to block a stuffed animal creation but blocking is an essential finishing technique for garments and other fitted items.
RELATED: Ultimate Guide to Crochet Techniques

When to (and not to) Block
You won’t want to block every project you do, but some projects that benefit most from blocking include:
- Garments
- Lace
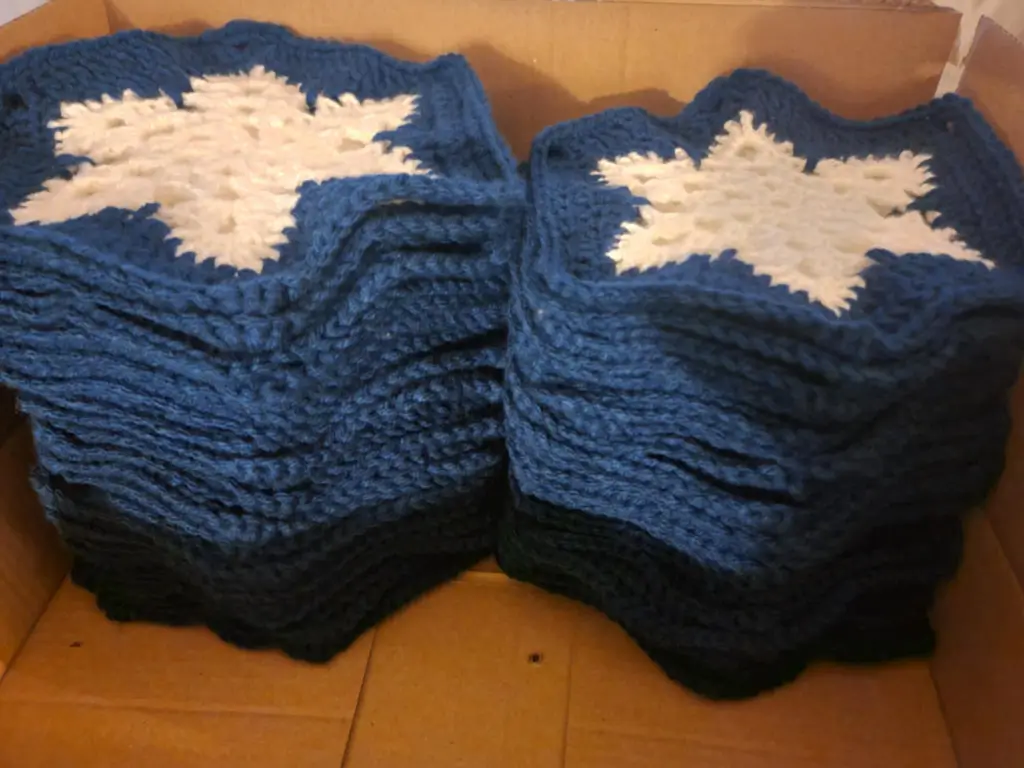
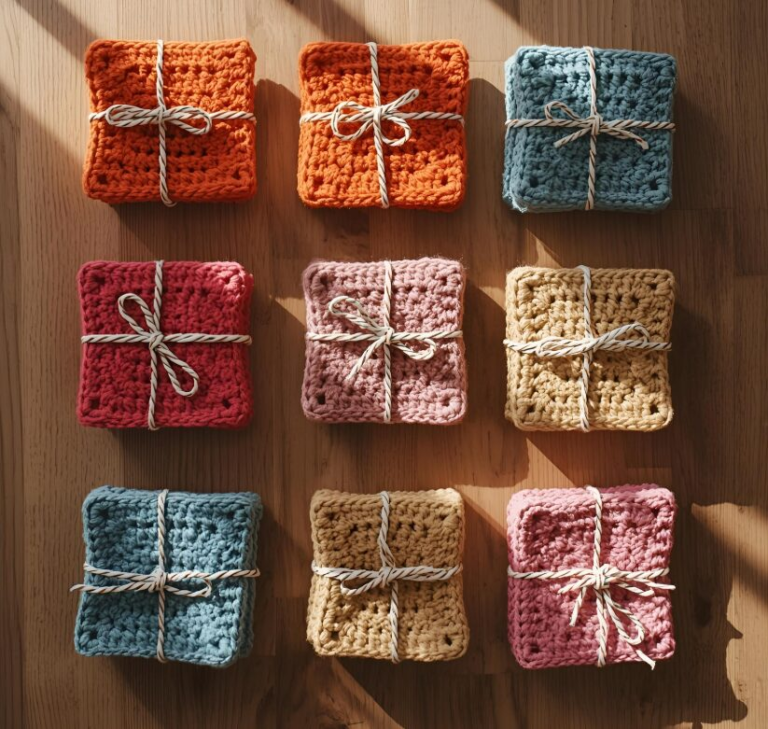
- Granny Squares and Motifs to being joined
- Blankets
- Items made from natural fibers like cotton or wool
- Before and/or after joining and assembling project pieces
You could also block some amigurumi depending on the type or design (loveys that have more of a blanket body, etc) as well as some casual accessories like scarves, but it’s optional and depends on your personal preference. There is certainly no need to block small projects like bookmarks, but again it’s a personal preference, especially if you want a cleaner and more finished look.
Step-by-Step Blocking Process
The blocking process is not at all complicated. Determining the method you chose to use for blocking and preparation is often the longest part of the process. Here are the simple steps on how to block your crochet projects:
- Gather all pieces of your project that require blocking
- Decide on your desired blocking method for the current project and follow the instructions for that specific method (see the next section on blocking methods)
- Pin pieces properly to achieve desired shape
- Allow the project to completely dry before unpinning and using
Blocking Methods Explained
Wet blocking (full soaking method)
- Wet blocking is the process of completely submerging your finished project in cool or lukewarm water.
- This technique is best for natural fibers like cotton, wool, etc.
- The project should soak for 15-30 minutes depending on the type of yarn used
- Take caution in removing the project from the water and gently squeeze out as much water as you can. It is not advised to twist and/or wring out the fabric as it can further distort the shape
- Lay the project flat on your blocking mats of choice and evenly pin around the edges to get the desired shape and size. Some projects require more pins than others so make sure you have plenty on hand.
- Allow for the project to dry COMPLETELY. This could take a day or two depending on the environmental conditions where the item is being dried (if its humid, more time may be needed to dry, etc)
- Once it is completely dry, you can remove the pins and start using the finished product
Steam blocking
- Steam blocking allows you to use both heat and moisture to relax the fibers and shape your project.
- This is a great method for acrylic and other synthetic yarns (sets it more permanently)
- Use a steamer you are comfortable with that you can pick up at a local store (no industrial steamer required). Hold the steamer 1 – 3 inches away from the project while steaming to avoid damaging the fibers.
- The steam function of irons can be used to steam block projects, but be careful not to overheat the fibers. DO NOT put the iron directly onto the fibers.
- Steam blocking is faster than wet blocking but may not work as well for thicker and more dense projects
- After the steaming process is complete, shape and allow the project to dry completely
- Once it is completely dry, you can remove the pins and start using the finished product
Spray blocking (light misting method)
- Similar to Steam blocking, Spray blocking uses moisture to relax the project’s fibers
- Can be used for any type of yarn as well as to make minor fixes in shape
- Use a spray bottle set to “mist” setting with clean water to dampen the project (do not completely soak it)
- Yarn conditioners are optional but not necessary
- Shape and allow the project to dry completely
- You can shape the project before, during, or after spraying (it’s up to you)
- Once it is completely dry, you can remove the pins and start using the finished product
Essential Blocking Supplies
Items that you will need to successfully block your projects include:
- Space appropriate for the size of your project to be spread out
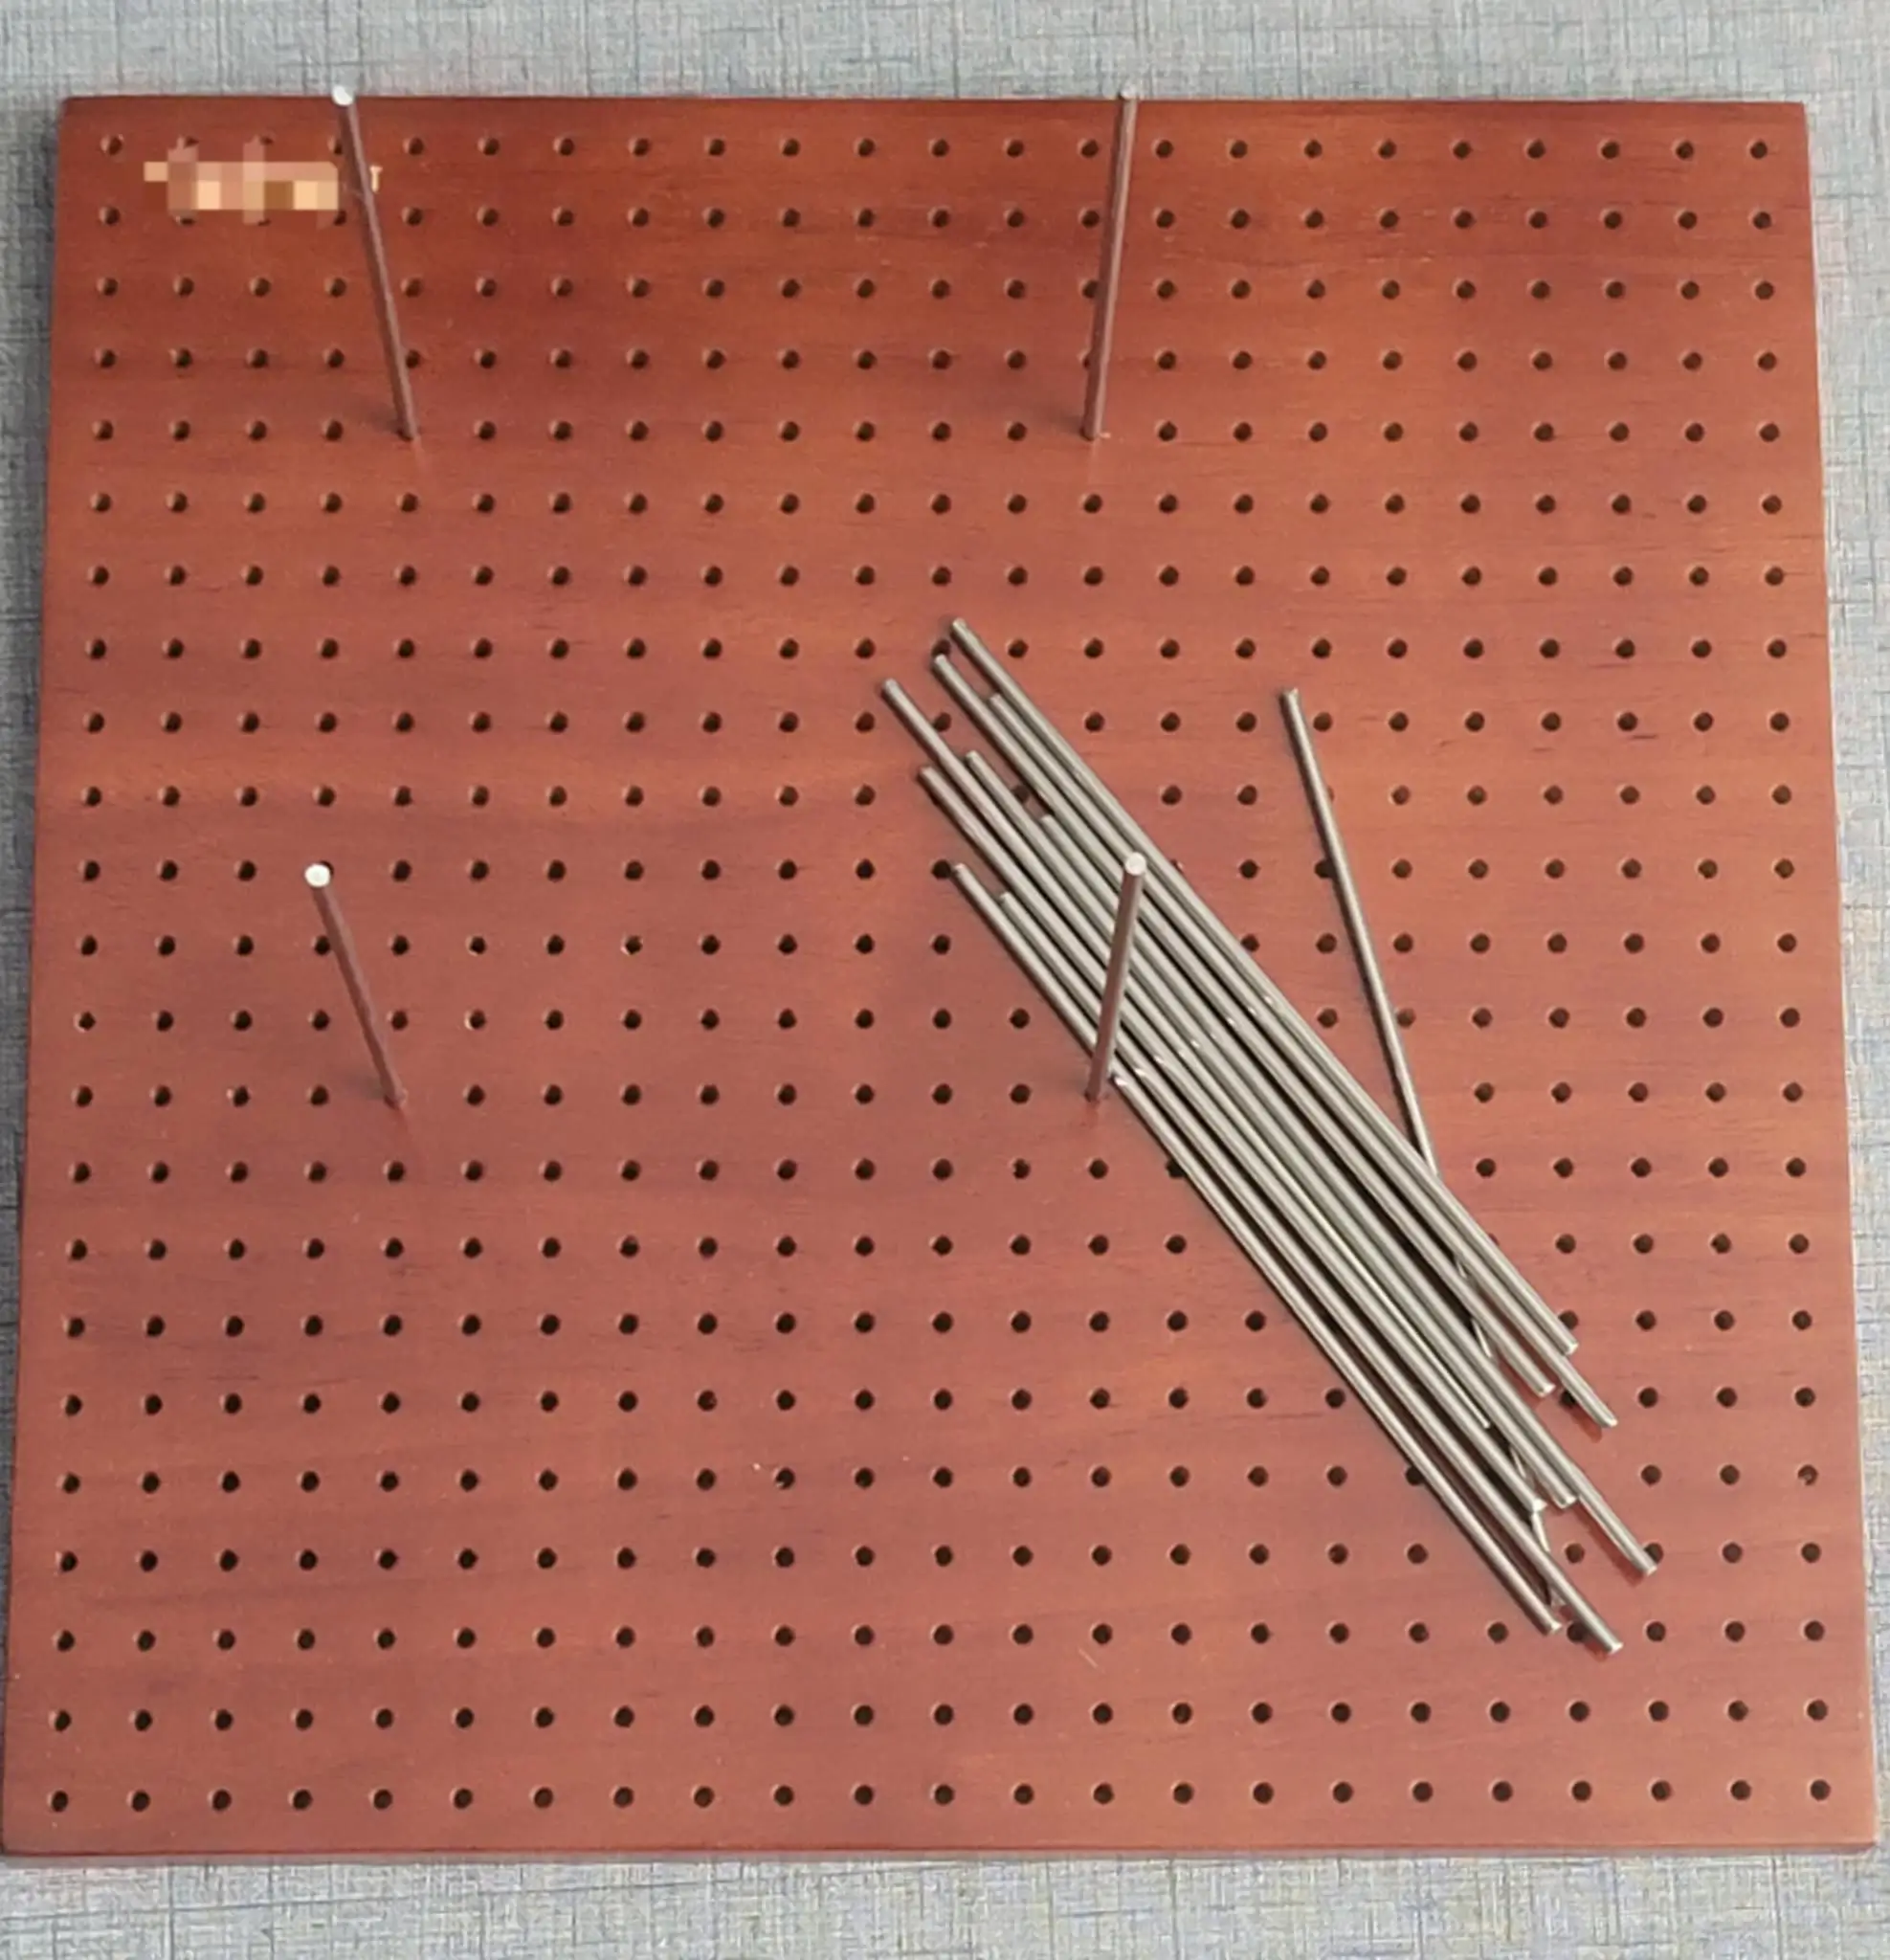
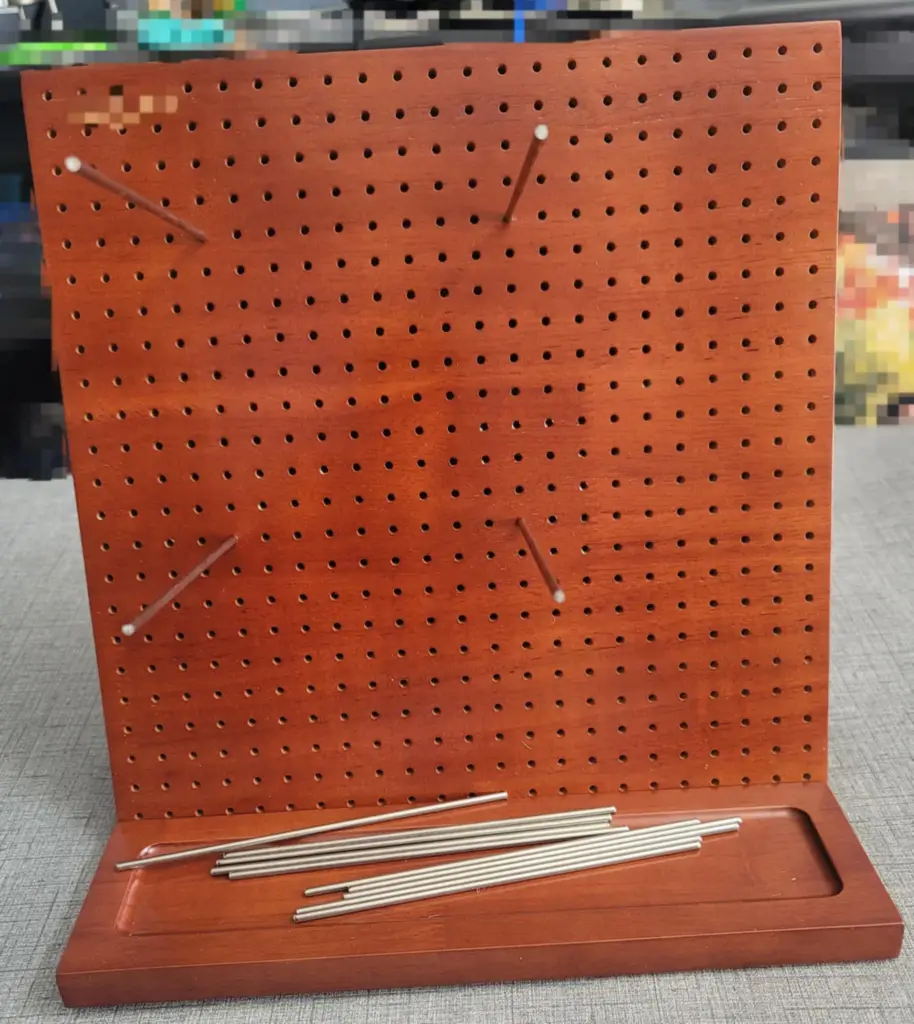
- Blocking mats or boards (you could use a yoga mat, or kid’s play mats if you already have those at home and don’t mind having pin holes in)
- Rust-proof pins or blocking wires to hold the project while it dries
- Measuring tools and templates to achieve the desired shape and size
- Towels
- Spray bottle(s)
- Tub or basin if wet-blocking
RELATED: Basic Crochet Supplies Every New Crocheter Should Have

Troubleshooting Common Issues
Over-stretching
Overstretching can distort your crochet piece and, while it’s obviously not the goal of blocking, it can happen. Be gentle handling the dampened or wet project to avoid overstretching. Also do not soak for too long if wet blocking (long enough to have the fibers completely saturated). In some cases you may be able to use a steamer or hair dryer to reshape the fiber down to the size you are looking for, but this also depends on the fiber type and how overstretched the project currently is.
Under-stretching
This can happen if the project wasn’t pinned to the appropriate size while blocking or if the method of blocking is not appropriate for the yarn type. If the project was pinned correctly, the fiber type could be the problem. Depending on the yarn type, some yarns (like natural fibers) are more forgiving when reshaping than synthetic or acrylic yarns. Blends can be tricky depending on the yarns being used in the blend.
Discoloration
- Discoloration can happen with some projects due to water stains or the bleeding of fiber colors. This can happen especially with bright colors.
- If you see discoloration after blocking, depending on the severity of the discoloration, you can try to respray and block the area that is discolored again. Unfortunately, this method is not reliable and may result in further discoloration.
- An option to try and prevent discoloration is to pre-wash the yarn being used
- If you notice the colors bleeding, you can try using color safe bleach or another fabric cleaner but this may or may not work and you could risk causing further harm to the project
- Discoloration can also happen around the pin areas on the project. Be sure to use pins that will not rust.
Dealing with stubborn pieces
Washing will often undo blocking efforts. It’s just what happens! Sometimes you will have a project that just refuses to hold it's shape. Less so on acrylic and synthetic fibers if heat is involved (the fiber can melt/break down a little with heat which causes it to relax).
Summary
Blocking your crochet project creates a more polished and professional look to your projects. Learning how to block your crochet projects and knowing the various methods you can use it essential for professional looking pieces. I personally like to start with the most gentle form of blocking (spray) and work my way up in moisture level if I’m not sure which blocking technique would be best.
If you’ve never blocked before, definitely give it a try on one of your preferred projects! You spend so much time making all of those granny squares or working on that special project! Why not make it look even better! Compare the difference of blocked versus unblocked. Yes, it takes some time and space, but it's worth it if you want to present a finished and professional looking handmade product!
Let us know in the comments if you have ever blocked a project and your thoughts about blocking!


I’ve heard of blocking but never knew much about it. Thank you for explaining it!
You’re welcome! It really helps with finishing touches on projects 🙂
Who know there where this many logistics. Wow
Thanks for reading!
This is such a cool process. I guess I didn’t realize that you could do it in pieces and them put it together.
In pieces would definitely save on space too!
I had no idea what blocking was until I read your article. Sounds interesting! Thanks for the explanation and tips!
You’re welcome! Thanks for reading 🙂