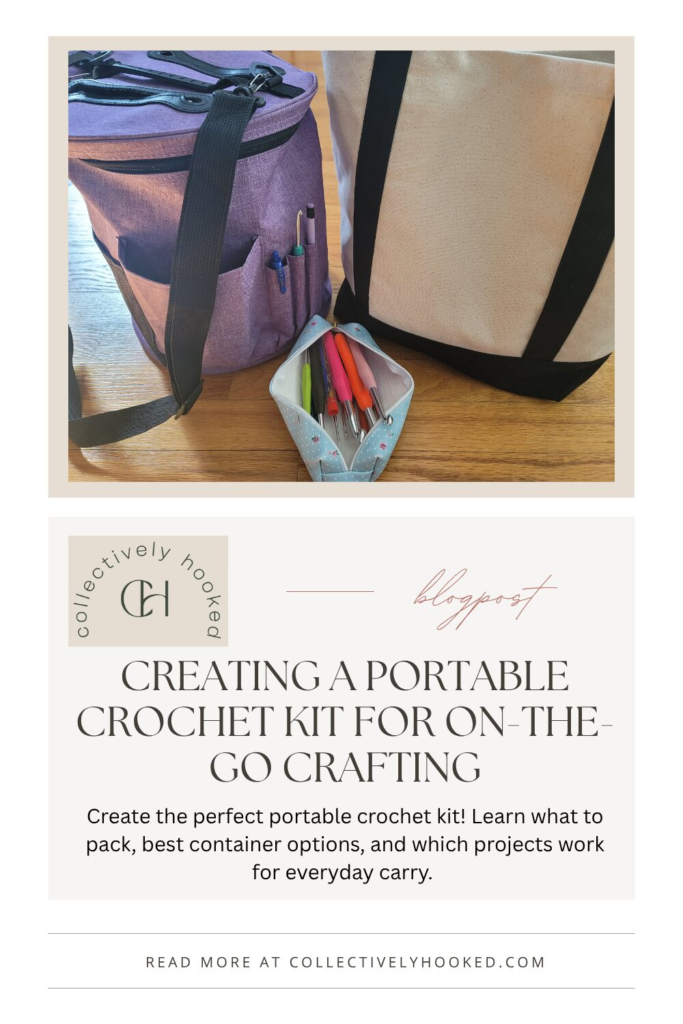
Creating a Portable Project Kit for Crochet On-the-Go
You're stuck in a waiting room. Or you have 30 minutes during your lunch break. Maybe you're riding the bus, or waiting for your kid's soccer practice to end. You wish you'd brought your crochet, but the thought of gathering everything you'd need felt too overwhelming this morning. Having some kind of portable crochet project kit would have been handy.
As intermediate crocheters, many of us have experienced the frustration of wanting to crochet on-the-go but not having a system to make it actually happen. You either bring nothing (and regret it), or you over-pack your entire craft room and lug around a bag that's way too heavy.
The solution? A dedicated pre-packed, grab-and-go setup that's always ready when opportunity strikes. Let me show you how to create one that actually works for your life.
If you're planning longer travel (like flights or road trips), check out my post on How to Crochet While Traveling for more specific tips. This post is about everyday portability (the kit you can grab on your way out the door for regular life).
DISCLOSURE: This post contains affiliate links, meaning if you click on a product or service, and decide to purchase it, I may receive a commission at no extra cost to you. All recommended products and services are based on my experience with them. For more information, please read my Disclaimer.
Why You Need a Portable Kit (Even If You Crochet at Home)
Before we dive into what to pack, let's talk about why having a dedicated portable kit is game-changing:
It eliminates decision fatigue. No more thinking “What should I bring?” every single time you leave the house. Your kit is ready for you.
It captures “found time.” Those 15-minute pockets of unexpected waiting time add up. With a portable kit, you can actually use them productively instead of scrolling on your phone.
It keeps your home setup intact. You're not constantly packing and unpacking your main workspace. Your favorite hooks stay at your desk, while your portable hooks stay in your bag.
It reduces the mental load. One less thing to think about when you're already juggling a million things to get out the door.
It makes crochet more accessible. When your kit is ready, you're more likely to actually crochet during downtime.
The Core Philosophy: Less Is More
Here's the key to a portable kit that you'll actually use: it needs to be light enough that you don't mind carrying it every day.
This means making strategic choices about what to include and what to leave at home. Your portable kit won't have every hook size or everything you own. And that's okay! It has what you need for portable-friendly projects.
Think of it like this: your home setup is your full kitchen. Your portable kit is your packed lunch. Different purposes, different contents.
Choosing the Right Container
Your container determines everything else, so let's start here.
Size Considerations
Small (purse/pocket-sized): Holds one WIP, 1-2 hooks, scissors, stitch markers
Best for: Quick grab-and-go, minimal planning
Limitations: One project only, very basic supplies
Medium (crossbody bag/tote insert): Holds 1-2 WIPs, 3-5 hooks, full notion set
Best for: Daily carry, flexible project switching
Limitations: Noticeable weight, needs its own bag
Large (dedicated project bag): Holds multiple WIPs, hooks, patterns, yarn
Best for: Intentional crochet sessions away from home
Limitations: Too big for spontaneous everyday carry
My recommendation for most people: Start with a medium-sized option. It's versatile enough for various situations without being a pain to carry around with you.
Container Types
Zippered pouches:
- Pro: Keeps everything contained, easy to spot in a bag
- Con: Can be annoying to open/close repeatedly
- Best for: Beginners to portable crochet
Drawstring project bags:
- Pro: Quick access, often lined to prevent snagging
- Con: Things can shift around inside
- Best for: Single WIP focus
Small hard-sided cases:
- Pro: Protects hooks etc, structured
- Con: Bulkier, harder to fit in bags
- Best for: People who check work bags or backpacks
Pencil cases or makeup bags:
- Pro: Inexpensive, readily available, varied sizes
- Con: Not specifically designed for crochet (may lack features)
- Best for: Budget-conscious crocheters
Purpose-made project bags:
- Pro: Designed with crocheters in mind, often have pockets
- Con: Can be pricey ($20-$60)
- Best for: Treating yourself or if you crochet on-the-go frequently
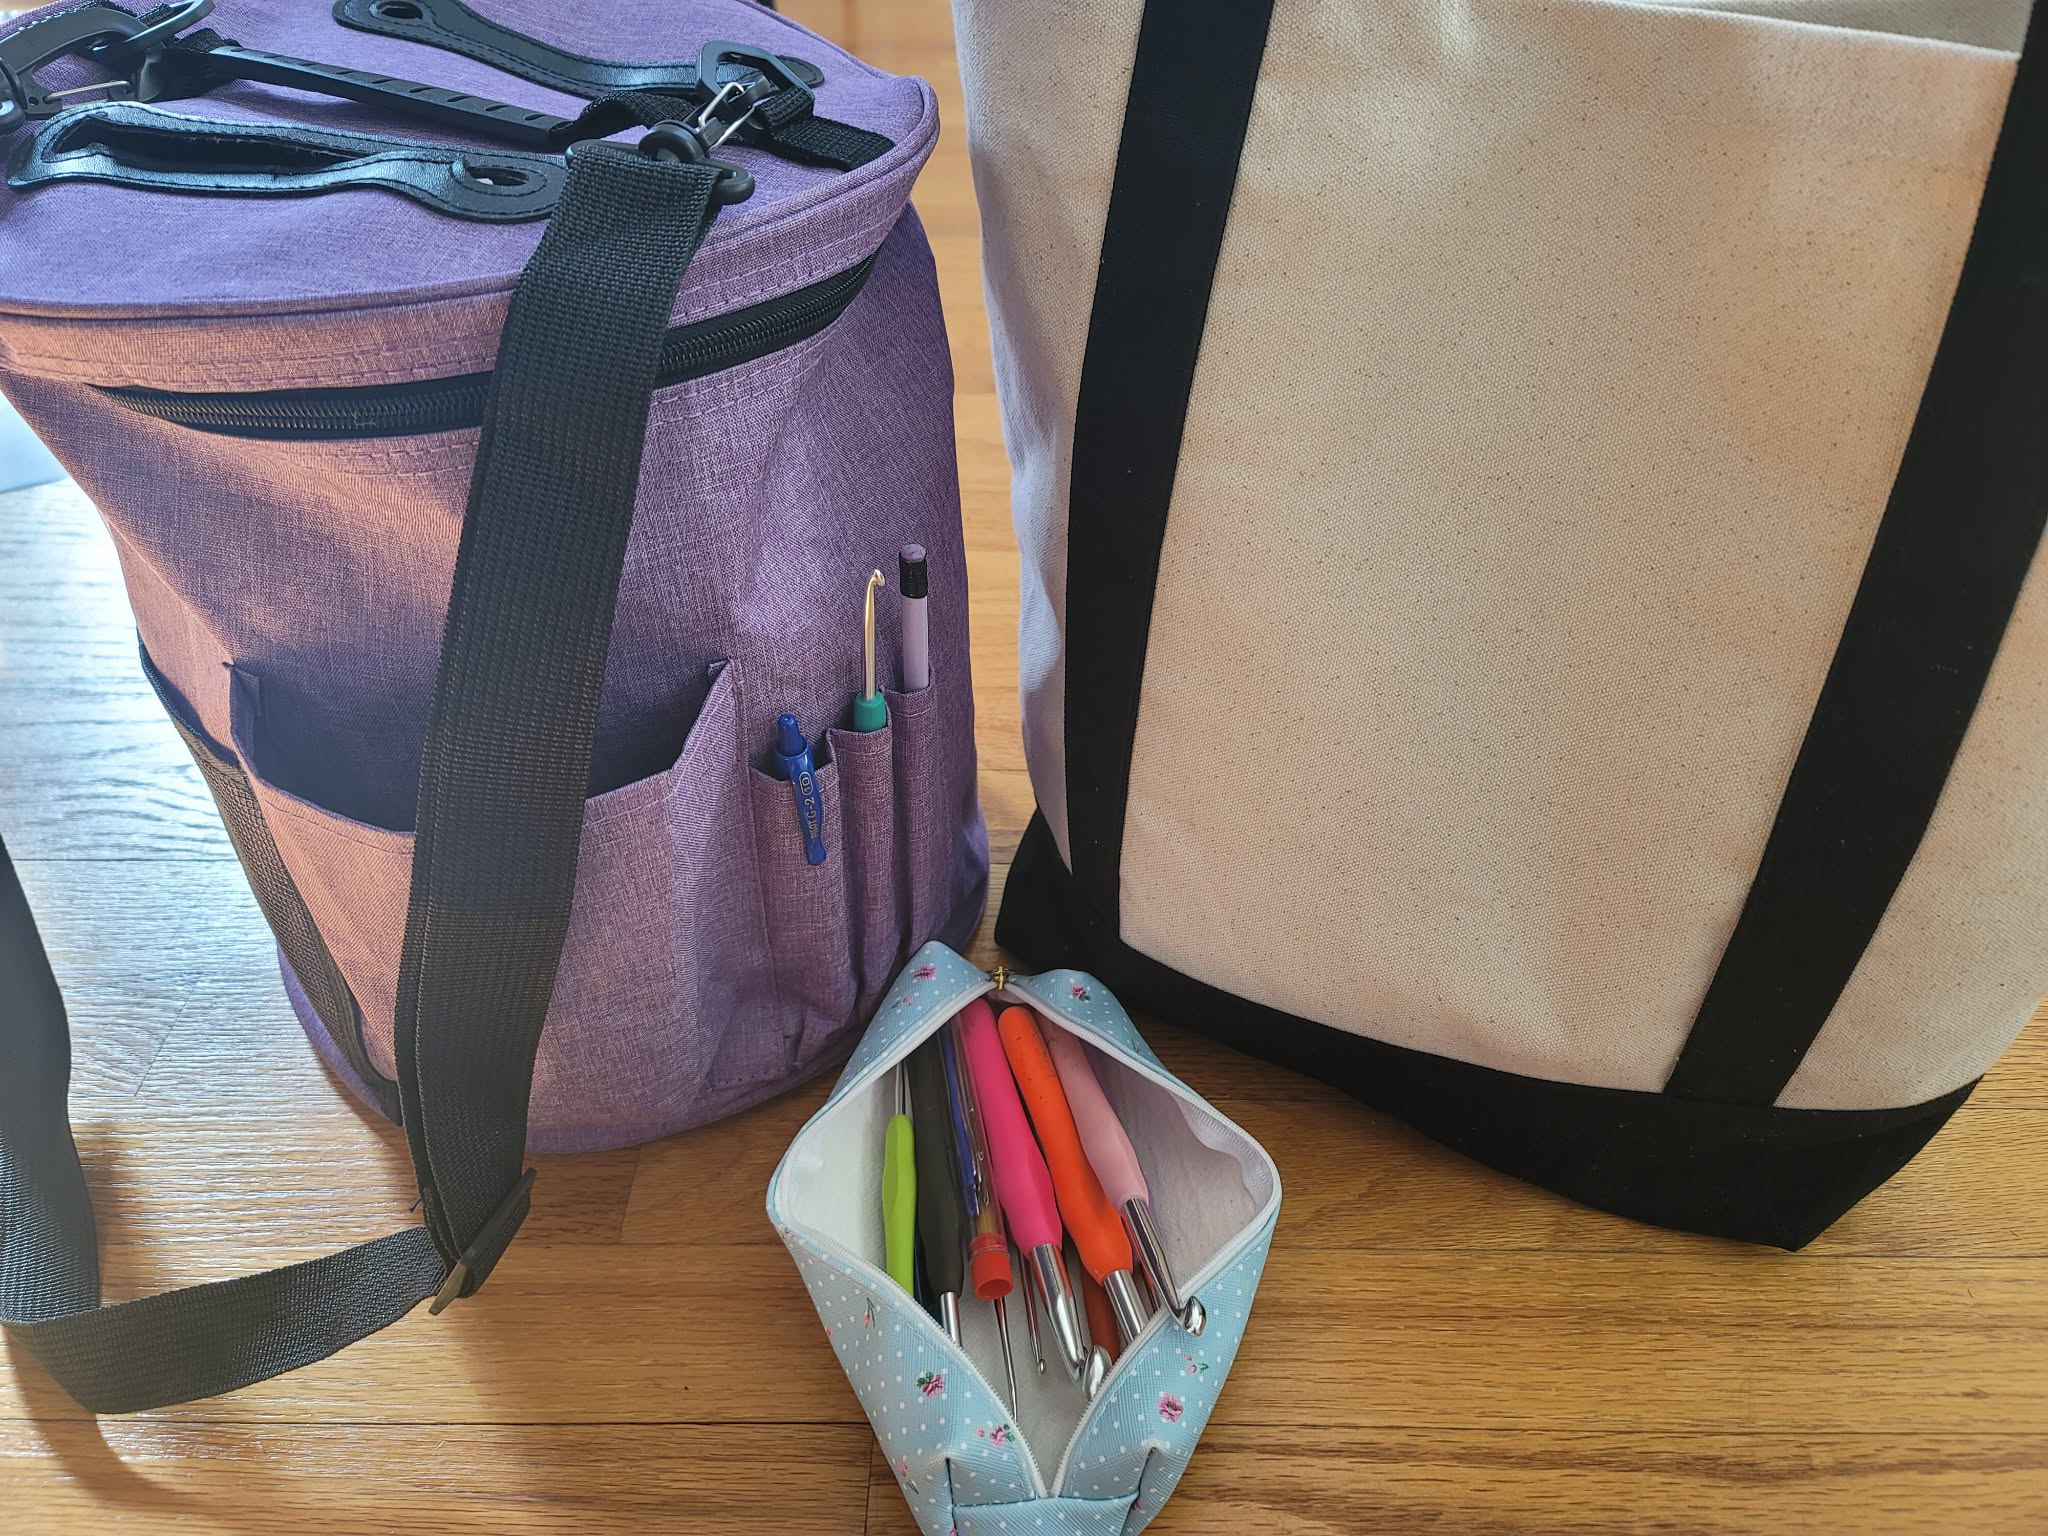
My Personal Setup
A ziplock bag is perfect for keeping my project safe in my purse (I have a bag-type purse). With active kids, my purse is a dumping ground full of receipts, wrappers, granola bars, pens, keys, wallet, the occasional toy, and sometimes a water bottle especially during the sports season.
I use a zippered crochet bag that fits what I need inside for when I’m moving around the house or traveling. It's substantial enough to hold what I need but it’s annoying to move around. The structured shape prevents it from getting squished.This bag is also large enough for days when I know I'll have more crochet time (like appointment days or train travel).

Essential Items for Your Portable Kit
These are the non-negotiables (the items that should live in your kit permanently) if you’re not 100% sure which project you will work on.
Hooks (2-4 sizes)
Don't bring every hook you own. Choose 2-4 sizes that cover the yarn weights you're most likely to work with portably.
My recommended portable hook selection:
- One worsted-weight hook (G, H, or I) – most versatile
- One DK/sport weight hook (E or F) – for lighter projects
- One bulky hook (J or K) – for quick projects
Skip jumbo hooks (too big), steel hooks (too specialized), and sizes you rarely use.
Material choice matters: Aluminum or lightweight plastic work best for portable kits. Save your heavy ergonomic hooks for home use where weight doesn't matter.
Pro tip: If you're working on a specific portable project, include that hook even if it's outside your usual range.
Scissors or Yarn Cutter
Never rely on just tearing yarn. Some yarns won't break cleanly, and you'll end up frustrated.
Option 1: Folding scissors – Safer for bags, won't poke through fabric
Option 2: Travel yarn cutter – TSA-friendly, very compact
Option 3: Thread snips – Small, sharp, efficient
Keep these IN your kit at all times. Don't borrow them for other tasks or they won't be there when you need them.
Tapestry Needle(s)
They take up almost no space and having backups is smart.
Even if you're not finishing projects on-the-go, you might need to:
- Weave in an end that's bothering you
- Fix a small mistake
- Join pieces if you're working modular
Storage: Get a small needle case or stick them in a cork (so they don't poke through your bag or get lost).
Stitch Markers
Pack 5-10 markers in your portable kit. This covers most needs without weighing you down.
Types to consider:
- Locking markers (most versatile)
- Ring markers (for working in the round)
- Scrap yarn (emergency backup if you run out)
Pro tip: Choose bright colors that won't get lost in the bottom of your bag.
Measuring Tape (Retractable)
A small retractable measuring tape (usually about 60″) is perfect for portable kits. The retractable feature means it won't tangle with everything else. You might not use it every time, but when you need it, you REALLY need it.
NOTE: if you know exactly what you will be working on, you can just pack the required items needed to finish the project.
Optional But Helpful Additions
These items enhance your portable kit but aren't essential for everyone.
Row Counter
If you're working on a project with lots of counting (like garment shaping), a small row counter can be invaluable.
Options:
- Traditional clicker counter (attach to a hook or key ring)
- Ring-style counter (wear on your finger)
- App on your phone (free but requires phone access)
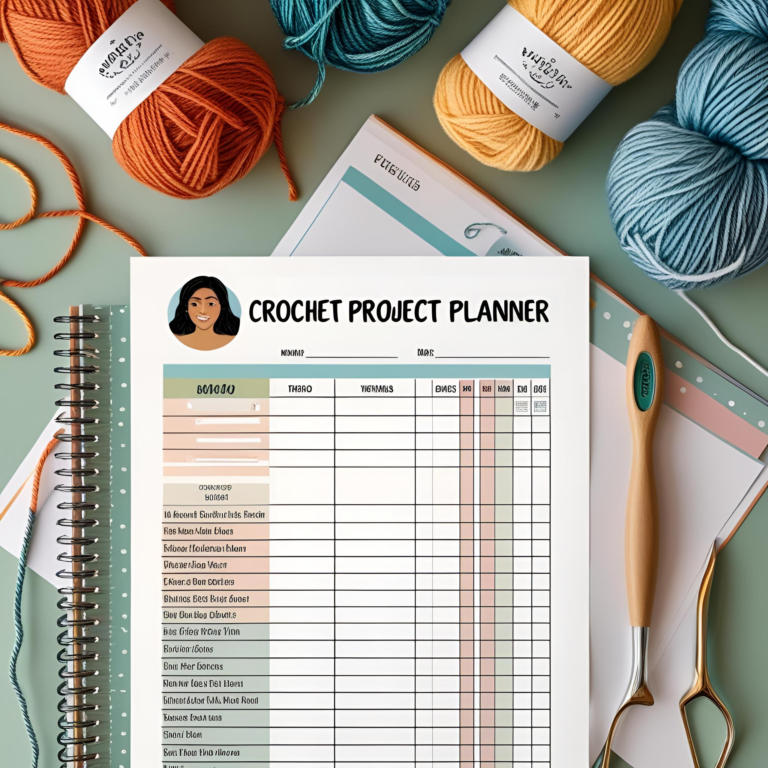
Small Notepad and Pen
For jotting down:
- Row/round counts
- Pattern notes
- Ideas for future projects
- Gauge measurements
A tiny notebook (think 3″ x 5″) and a small pen take up minimal space.
Hook Size Gauge
This small tool helps you identify unmarked hooks or verify the actual size of your hooks. Especially useful if you're using borrowed hooks or older hooks where the markings have worn off.
Cable Needle or Darning Needles (Multiple Sizes)
If you're doing specific techniques that require these, pack them. Otherwise, skip them.
Crochet-Specific Additions
Depending on your typical projects:
- Safety eyes (for amigurumi)
- Stitch definition tool
- Small crochet gauge
- Bobby pins (can work as stitch markers in a pinch)

Choosing Portable-Friendly Projects
Not every project works well on-the-go. Here's what to look for:
Good Portable Project Characteristics
Repetitive patterns: Patterns you can memorize easily or that repeat frequently
Forgiving tension: Projects where slight tension variations won't be noticeable
No chart dependency: Or if charted, simple enough to memorize
Self-contained: Doesn't require constant reference to pattern
Small to medium size: Fits in your bag without bulk
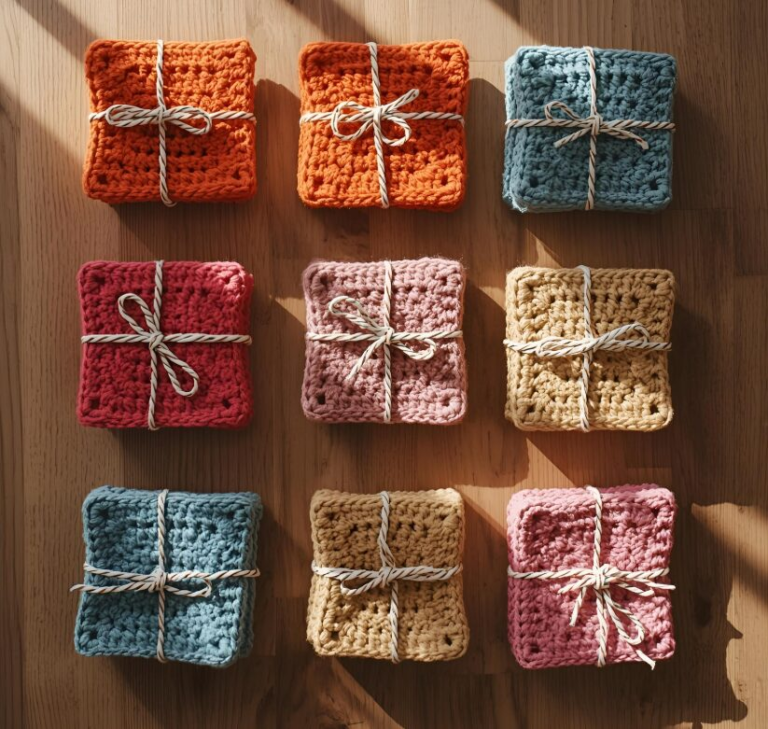
Great Portable Project Types
Excellent choices:
- Granny squares (can work on one at a time)
- Small amigurumi
- Dishcloths and washcloths
- Scarves with simple stitch patterns
- Baby blankets (still portable-sized)
- Coasters or mug cozies
- Simple hats
- Cowls and infinity scarves
Projects to avoid for on-the-go:
- Large blankets (too bulky)
- Complex colorwork (requires charts and multiple colors)
- First-time garments (need constant pattern checking)
- Lace with complex pattern repeats (hard to track without quiet focus)
- Projects with lots of pieces (too many things to keep track of)
The “One Portable Project” Rule
Here's my personal rule: My portable kit holds ONE active WIP at a time.
Why? Because if I pack multiple projects, I spend too much time deciding which one to work on instead of actually crocheting. One project = no decisions = more crocheting.
Exception: You can keep a “backup” simple project (like a granny square) in case you get bored with your main portable WIP.
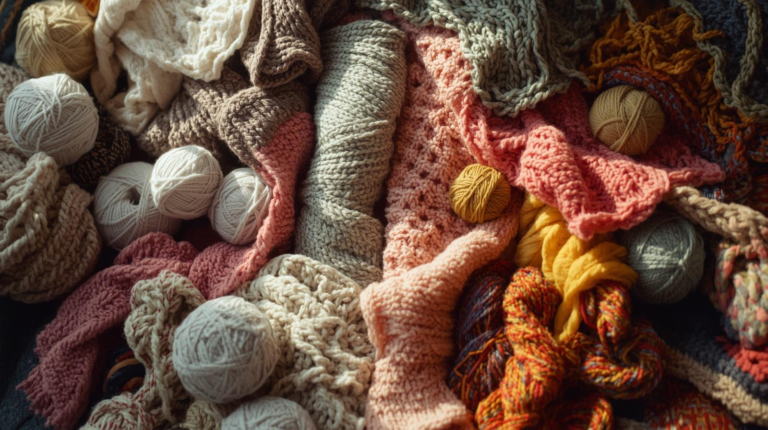
Yarn Considerations for Portable Projects
Amount
Only pack what you'll realistically use before refilling. You're not taking your entire stash with you!
For most portable projects:
- 1-2 skeins if you're mid-project
- Just the current working skein plus one backup
- Pre-wound balls (more compact than skeins)
Type
Avoid for portable projects:
- Very fuzzy yarn (sheds everywhere, hard to see stitches)
- Extremely light colors (shows every speck of dirt)
- Expensive luxury yarn (risk of damage or loss is too stressful)
- Highly textured yarn (harder to work with distractions)
Pattern Management
How will you reference your pattern while crocheting away from home?
Option 1: Printed Pattern
Pros: No phone/tablet battery needed, can mark it up
Cons: Extra paper to carry, can get damaged
Best practice: Print only the page(s) you're currently working on. Fold and tuck into your kit.
Option 2: Digital Pattern on Phone/Tablet
Pros: Access to full pattern library, no extra weight
Cons: Battery drain, screen glare in sunlight, phone distractions
Best practice: Download patterns for offline access. Use airplane mode while crocheting to avoid notifications.
Option 3: Memorized Pattern
Pros: Ultimate freedom, no supplies needed
Cons: Only works for simple, repetitive patterns
Best practice: This is the holy grail for portable crochet. Choose patterns you can memorize.
My Approach
I keep a small folded printout of my current pattern in my kit, but I also try to choose portable projects simple enough that I rarely need to reference it.
Setting Up Your Kit: Step-by-Step
Ready to actually pack your portable kit? Here's how:
Step 1: Choose Your Container
Based on your daily carry habits and typical outing length, pick your container size and style. Something as simple as a reusable grocery bag is a great start!
Step 2: Add Core Essentials
Pack these items permanently:
- 2-4 hooks (your most-used sizes)
- Scissors/yarn cutter
- 2-3 tapestry needles
- 5-10 stitch markers
- Retractable measuring tape
Label or mark these as “portable kit” items so you don't accidentally use them for other projects.
Step 3: Add Optional Items
Based on your typical projects, add:
- Row counter (if you use one)
- Small notepad and pen
- Hook gauge
- Any project-specific tools
Step 4: Choose Your Current Portable Project
Pick ONE project that meets the portable-friendly criteria. Add:
- Current WIP
- Yarn for that project (1-2 skeins max)
- Pattern reference (printed or noted for digital)
Step 5: Store It in Your “Launch Pad”
Keep your kit somewhere you see it every day:
- By the front door
- In your regular purse/bag
- In your car
- By your work bag
Make it EASY to grab. If it's hidden in a closet, you won't bring it.
Maintaining Your Kit
Your portable kit isn't a one-time setup. Here's how to keep it functional:
Weekly Check-In
Every week, spend 5 minutes:
- Replenish yarn if needed
- Replace any tools you borrowed for home use
- Swap WIP if you finished or got bored
- Check that scissors are still there (they wander!)
Project Rotation
When you finish a portable project:
- Don't leave the kit empty!
- Immediately add a new portable-friendly WIP
- Remove any project-specific tools you won't need for the next one
Seasonal Adjustments
Different seasons = different opportunities:
- Summer: More outdoor waiting (parks, sports)
- Winter: More indoor waiting (appointments, cafes)
- Adjust your project choices accordingly
Where to Crochet On-the-Go
Once you have your kit, where can you actually use it?
Perfect Opportunities
Waiting situations:
- Doctor/dentist appointments
- Kids' activities (practice, lessons)
- Car maintenance appointments
- DMV or government offices
- Airport/flight delays
Regular downtime:
- Lunch breaks at work
- Commute on public transit
- Coffee shop visits
- Park time
- Waiting for appointments
Social situations:
- Chatting with friends (ask first!)
- Watching kids at playground
- Waiting at restaurants
Less Ideal Situations
Skip crochet when:
- Driving (obviously!)
- In very formal settings
- During active conversations
- When you need both hands free
- In crowded, tight spaces where your elbows would bump people
The Bottom Line
A portable crochet kit is about creating a lightweight, ready-to-go system that makes it easy to crochet during life's little pockets of downtime.
Start simple. Pick a container, add the essentials, choose one good portable project, and see how it goes. You can always adjust and refine as you learn what works for your lifestyle.
The goal isn't to crochet every single moment you're away from home. It's to have the OPTION when the opportunity arises. Those 10-minute sessions while waiting add up. You'd be surprised how much progress you can make on a project just by consistently having your kit available.
Your Turn
Do you already have a portable crochet setup? What's in your kit? What portable projects do you love? Any tips I missed? Share in the comments or tag me on Instagram @collectivelyhooked with your on-the-go projects!
Ready to crochet wherever life takes you? Check out these related posts:
- How to Crochet While Traveling – For longer trips and flights
- Basic Crochet Supplies Every New Crocheter Should Have – Building your home setup
- Building a Versatile Hook Collection – Choosing hooks for portable vs. home use
- Setting Realistic Crochet Goals – Making the most of your portable crochet time
Happy hooking!