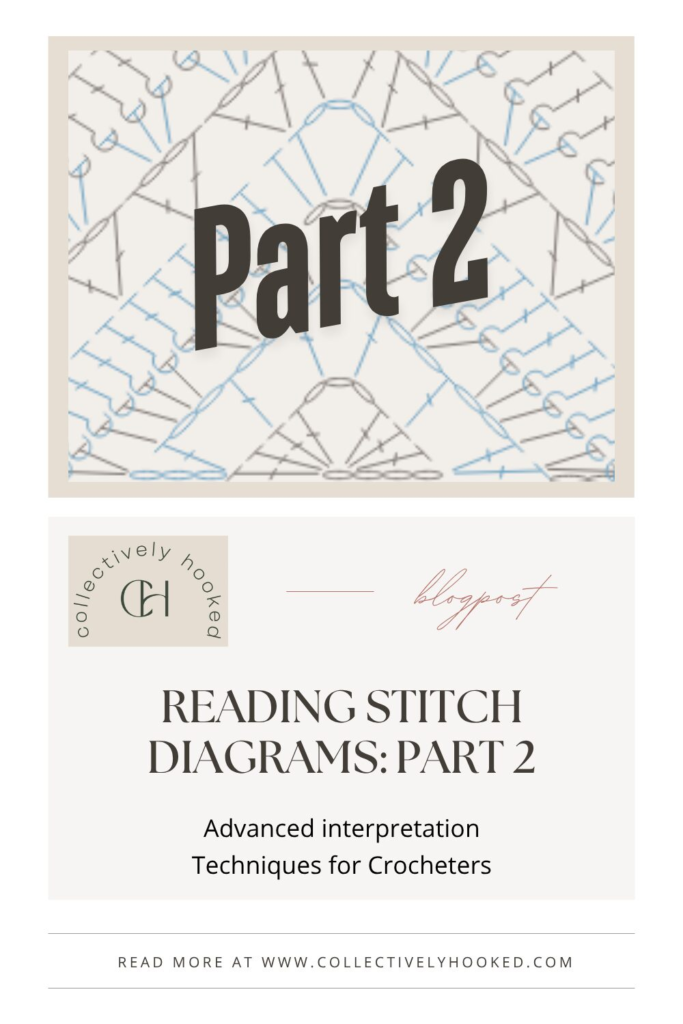
Reading Stitch Diagrams Part 2: Advanced Interpretation Techniques for Crocheters
If you've already learned the basics of reading crochet stitch diagrams, then congratulations!You've unlocked a skill that many crocheters never take the time to develop, but understanding the symbols is only the beginning.
As you gain experience, you'll discover that stitch diagrams contain much more information than simply telling you where to place each stitch. Advanced crocheters learn to use diagrams as visual roadmaps that reveal shaping, pattern construction, stitch relationships, and even a designer's intentions.
In this second installment of our stitch diagram series, we'll explore how to move beyond symbol recognition and start interpreting diagrams like an experienced crocheter.
DISCLOSURE: This post contains affiliate links, meaning if you click on a product or service, and decide to purchase it, I may receive a commission at no extra cost to you. All recommended products and services are based on my experience with them. For more information, please read my Disclaimer.
Seeing the Structure Instead of Individual Stitches
When most crocheters first learn to read diagrams, they focus on one symbol at a time.
That's completely normal.
However, advanced diagram reading involves stepping back and looking at the overall structure.
Instead of seeing:
- Double crochet
- Chain 2
- Double crochet
- Chain 2
You'll begin to recognize:
- Shells
- Fans
- V-stitches
- Lace motifs
- Mesh sections
This shift makes complex diagrams feel much less intimidating because you're interpreting groups of stitches rather than individual symbols.
Think of it like reading words instead of sounding out every letter.
Learning to Spot Repeats Before You Start
One of the most valuable advanced skills is identifying repeats before picking up your hook.
Many diagrams contain visual clues that reveal repeating sections.
Before beginning a project, look to serif you can identify:
- Which section repeats horizontally?
- Which section repeats vertically?
- Where does the repeat begin and end?
- Are there edge stitches outside the repeat?
When you identify these sections early, following the diagram becomes much easier.
You'll spend less time searching for your place and more time understanding how the pattern is constructed.
Recognizing Shaping in Diagrams
Written instructions often directly state when increases and decreases occur. Diagrams are a little different. Instead of telling you directly, they show you visually.
Look for:
Expanding Areas
When rows become wider, increases are occurring.
Narrowing Areas
When rows become smaller, decreases are present.
Angled Edges
Diagonal sides often indicate shaping for garments, sleeves, or shawls.
The ability to recognize shaping at a glance helps you understand where a project is headed long before you reach that section.

Understanding Layered Stitch Patterns
Advanced diagrams often include stitches that reach into previous rows.
Examples include:
- Front post stitches
- Back post stitches
- Spike stitches
- Overlay crochet techniques
At first glance, these diagrams can look confusing because lines cross over multiple rows.
Instead of reading strictly row by row, trace where the stitch begins and where it anchors. Understanding the anchor point is often the key to understanding the entire diagram.
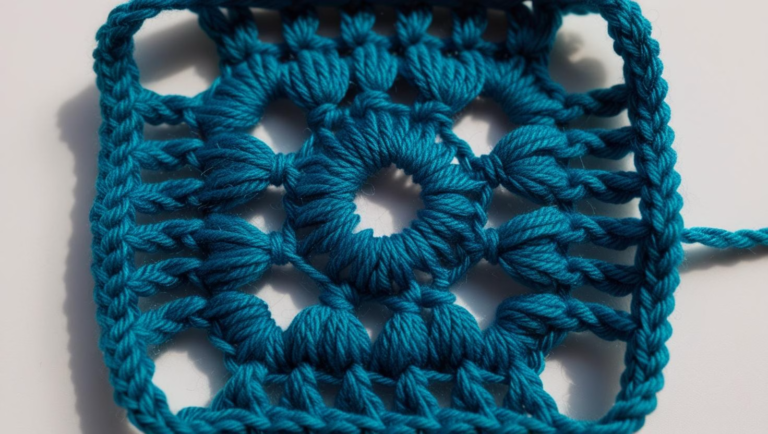
Reading Diagrams for Texture
One skill that develops with experience is the ability to predict texture before making a swatch.
Certain visual patterns often suggest specific fabric characteristics.
For example:
- Dense clusters usually create a lot of texture.
- Large chain spaces often create openness and drape.
- Post stitches frequently make raised surfaces.
- Repeating shell formations often create flowing fabric.
While a swatch is still the best way to evaluate a stitch pattern, experienced crocheters can often make educated predictions simply by studying the diagram.
Using Diagrams to Troubleshoot Mistakes
Many crocheters only refer to diagrams while actively crocheting.
However, diagrams can also be excellent troubleshooting tools.
If your project doesn't look quite right:
- Compare your stitch placement to the diagram.
- Verify that each repeat matches the visual layout.
- Check that increases and decreases occur in the correct locations.
- Confirm that stitch groups align properly from row to row.
Sometimes a diagram can reveal an error much faster than written instructions.
Thinking Like a Designer
Perhaps the most rewarding aspect of advanced diagram reading is learning to see patterns through a designer's eyes.
Instead of asking yourself “what stitch comes next?” you begin asking “why was this stitch placed here?”
You start noticing:
- How motifs connect
- How shaping is achieved
- How texture is created
- How visual balance is maintained
At this point, diagrams become more than instructions and become lessons in crochet design.
Final Thoughts
Learning crochet symbols is the first step. Learning to interpret stitch diagrams is where the real fun begins.
As your skills grow, diagrams change from simple instruction tools into visual blueprints that reveal the structure, shaping, texture, and construction of a project.
The next time you encounter a crochet diagram, don't just focus on the individual symbols. Take a moment to step back and study the bigger picture.
You may discover that the diagram is telling you much more than where to place your next stitch! It may be teaching you how the entire design works!
Ready to expand your knowledge? Check out these related posts:
- Intermediate Crocheter Mistakes: Pattern Reading Edition
- Reading Crochet Stitch Diagrams vs Written Patterns: When to Use Each
- How To Read Crochet Diagrams
- Crochet Pattern Testing 101
Happy hooking!